Thinking about a Yamaha Drive battery upgrade (G29 or Yamaha Drive 2) – using premium lithium cells for improved power and performance? If so, you’ve come to the right place, since we’ll be breaking down a recent installation and upgrade we finished up in our shop.
Yamaha golf carts are highly praised for their smooth automotive-style ride, comfortable handling, and advanced rear suspension options. However, their factory electric powertrains have historically been weighed down by heavy, high-maintenance lead-acid battery packs.
A Yamaha Drive battery upgrade to premium LiFePO4 (Lithium Iron Phosphate) from Bolt Energy USA, you instantly unlock sports-car-like acceleration, completely eliminate tedious battery maintenance, and shed up to 250 lbs from your chassis.
Important AC Motor Considerations (The Two Different Drive2 Models):
Traditional flooded lead-acid battery packs place enormous physical strain on a golf cart’s structural frame and suspension bushings. Yamaha carts, particularly the Drive 2 with its advanced independent suspension options, handle drastically better once you remove the massive dead weight of lead. A Yamaha Drive battery upgrade with quality lithium cells drastically reduces your carts total weight.
| Feature | Standard Yamaha Lead-Acid Setup | Yamaha Drive Battery Upgrade (Bolt Energy) |
| Battery Maintenance | Constant watering, dealing with corroded terminals | Zero Maintenance (Install it and forget it) |
| Pack Weight | ~320 lbs to 360 lbs | ~95 lbs to 165 lbs (Massive reduction) |
| Power Delivery | Sluggish acceleration; fades heavily on hills | Crisp, instantaneous acceleration |
| Charging Speed | 8 to 12 long hours to reach full | 2 to 4 hours with high-speed onboard charger |
| Expected Lifespan | 2 to 3 years before cell degradation | 10-12 Year Expected Lifespan |
Early G29 models were engineered to hold four massive 12-volt lead-acid batteries. The molded plastic floor pan features specific raised structural dividers suited to those exact dimensions. Because this compartment is tight and oddly shaped, you need a mounting bracket so that the battery clears the underside of the seat hinge assembly perfectly. Our Yamaha Drive battery upgrade kits come with this bracket.
Starting in 2011, Yamaha recognized the market shift and reworked the tub to accommodate six 8-volt batteries. This compartment is significantly more spacious and allows for a centralized “Thru-Hole” single-pack lithium battery design.
Why This Matters to You: During your Yamaha Drive battery upgrade consultation, we check your exact model. Both Eco Battery and Bolt Energy offer year-range-specific bracket bundles. Utilizing the correct bracket ensures the battery bolts directly to the steel frame rails, avoiding the risk of it shifting during bumpy trail rides or street driving.
Start your Yamaha Drive battery upgrade by accessing the battery compartment beneath the seat and flipping the cart’s Tow/Run switch to TOW. This cuts power to the controller and prevents accidental arcing while unhooking cables. Disconnect the main negative pack lead first, then the main positive lead, followed by all remaining series jumper cables between individual batteries.
Depending on your specific cart generation, you will be pulling out either 4x 12V (standard Drive G29), 6x 8V (standard Drive2), or 8x 6V batteries (commonly found in extended-range Drive2 setups). Unbolt the factory hold-down brackets and lift each battery out using a battery strap tool. Hauling out 8x 6V batteries means removing nearly 500 lbs of lead-acid weight—lift straight up to protect your back and avoid tilting older units that might spill acid.
Yamaha Drive and Drive2 plastic battery tubs are notorious for holding dirt, leaves, and neutralized battery acid residue. Spray the entire tub with a baking soda and water solution to neutralize lingering sulfuric acid. Scrub thoroughly with a stiff brush, then rinse with water and let the compartment dry completely before continuing your Yamaha Drive battery upgrade.
Inspect the frame rails beneath the plastic tray. If you notice any bare metal oxidation or rust spots caused by spilled acid, sand them clean and touch them up with rust-inhibiting spray paint before installing your new equipment. Installing your Yamaha Drive battery upgrade into a weak frame could result in damage to that frame – especially if your are installing new brackets.
Unbolt the factory Yamaha charger receptacle from the cart’s body panel and disconnect its internal wiring harness attached to the old battery compartment. Remove the old charger plug assembly completely.
Pro Tip (Avoiding the Port Hole Gap): The generic AC plug supplied in the Bolt kit is too small for Yamaha body panels, leaving an open gap around the port hole. To maintain an OEM factory finish, use an Eco Battery Yamaha-specific charge port. It features a custom-molded adapter plate designed specifically to cover the entire Yamaha opening flush without custom fabrication or exposed gaps.
Mount the Eco Battery Yamaha port into the factory body opening, secure it using the three mounting screws, and route its charger cord back into the battery bay to connect directly to your Bolt charger.
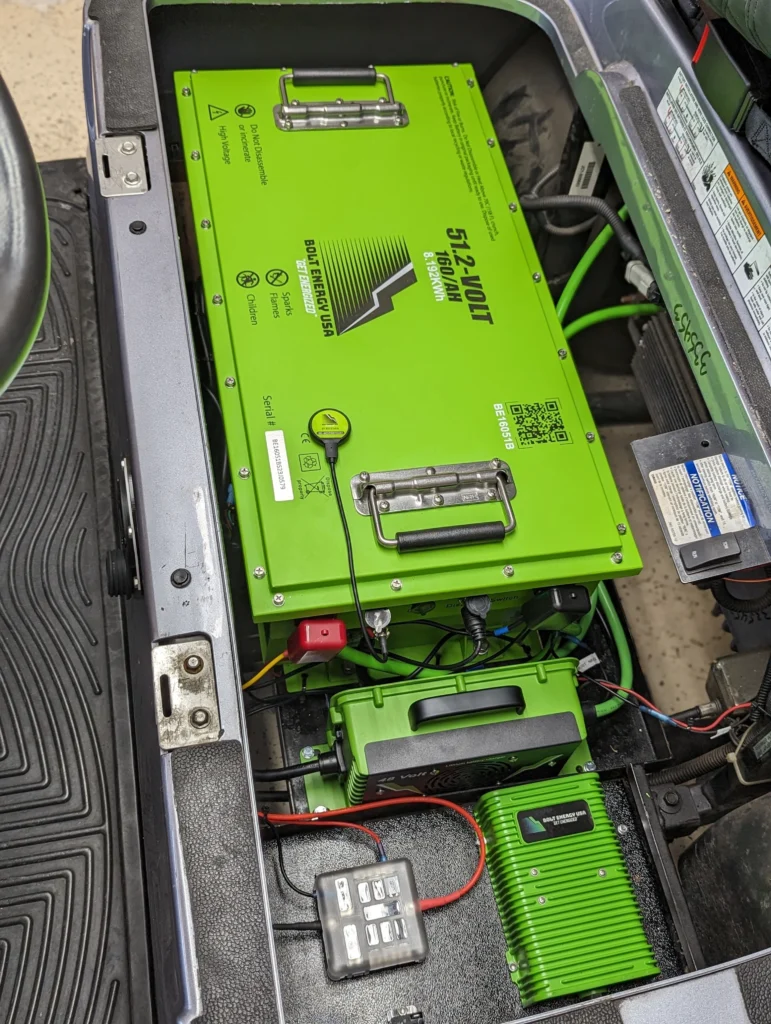
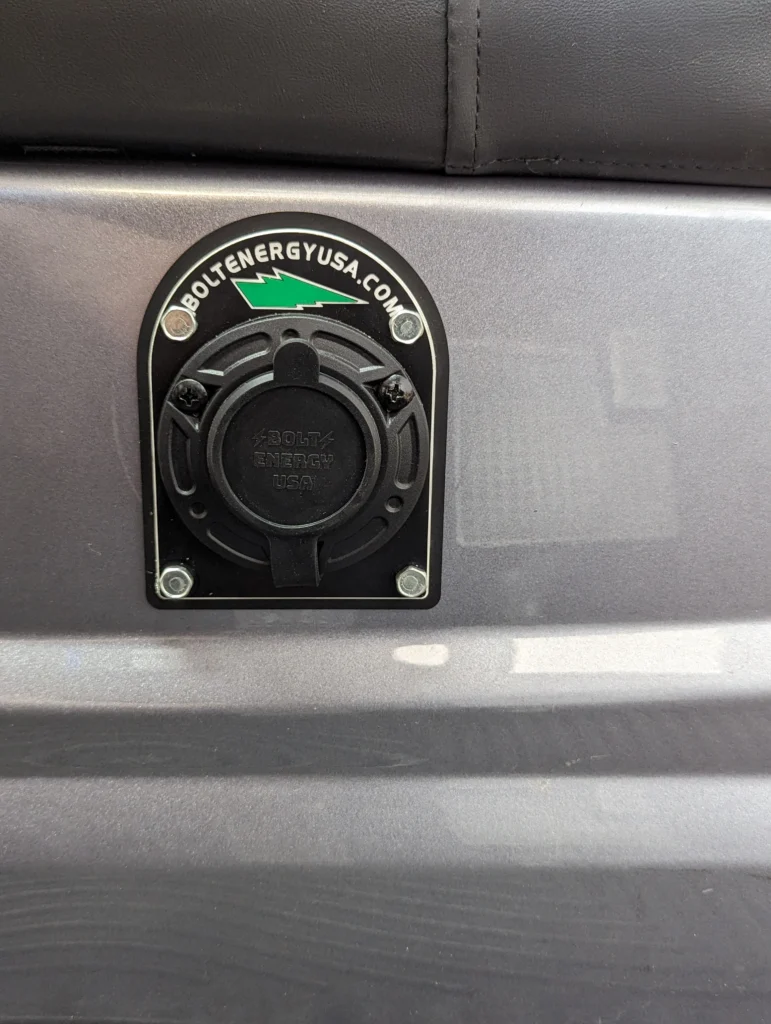
Position the Bolt Energy charger and 48V-to-12V DC converter (voltage reducer) inside the battery bay along the side walls or support framing. Fasten both units securely using self-tapping screws through the mounting feet so they stay locked in place over rough terrain.
Route the charger interlock wire from the charger over to the controller area. Note that the Bolt interlock harness splits into three different terminal ends (providing options for different cart manufacturers), but all three output the exact same interlock signal:
This completes the safety interlock for your Yamaha Drive battery upgrade, cutting power to the cart’s drive system whenever the charger is plugged into AC power.
The Bolt Energy voltage reducer required for this Yamaha Drive battery upgrade uses a specialized 5-wire harness layout. Connect the wires as follows:
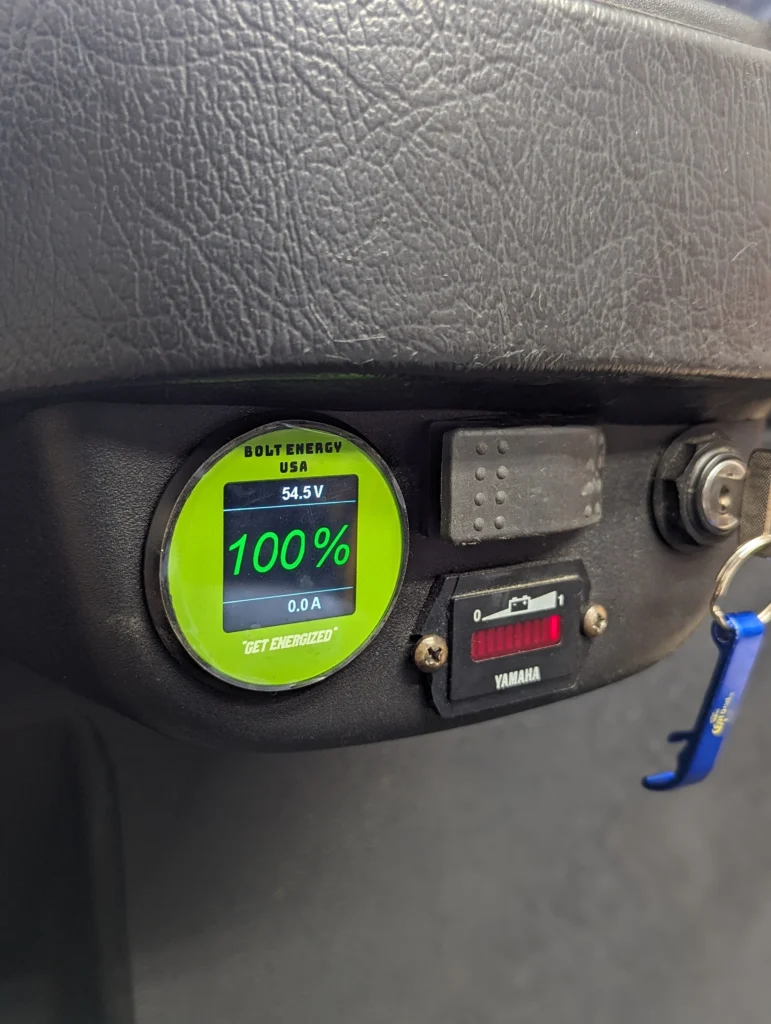
Unlike systems requiring a separate power button, the Bolt Energy State of Charge (SOC) gauge features an integrated On/Off switch built directly into the display face – this is one of our personal favorite features of the Yamaha Drive battery upgrade.
Mount the Bolt SOC gauge directly into the dash using the standard 2.25″ round cutout (which drops right into the factory state-of-charge gauge hole). Next, route the display wiring harness from the dash down underneath the floor mat channels or along the underbody frame rails back to the battery bay. Plug the quick-connect harness directly into the display port on top of the Bolt Energy battery casing.
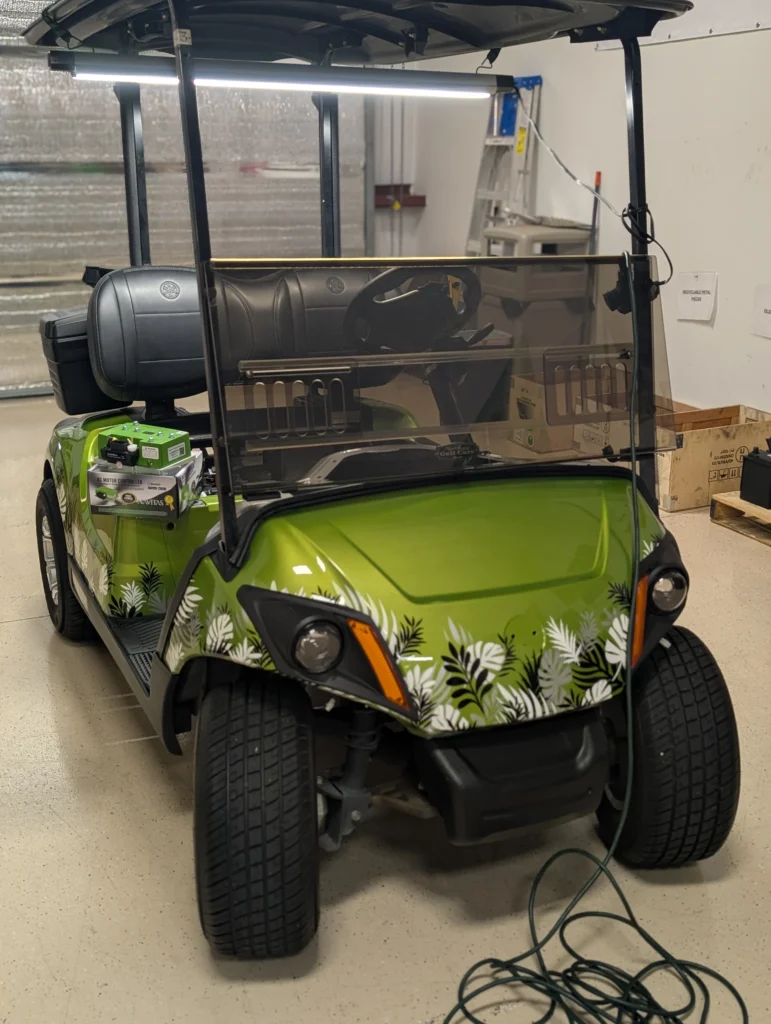
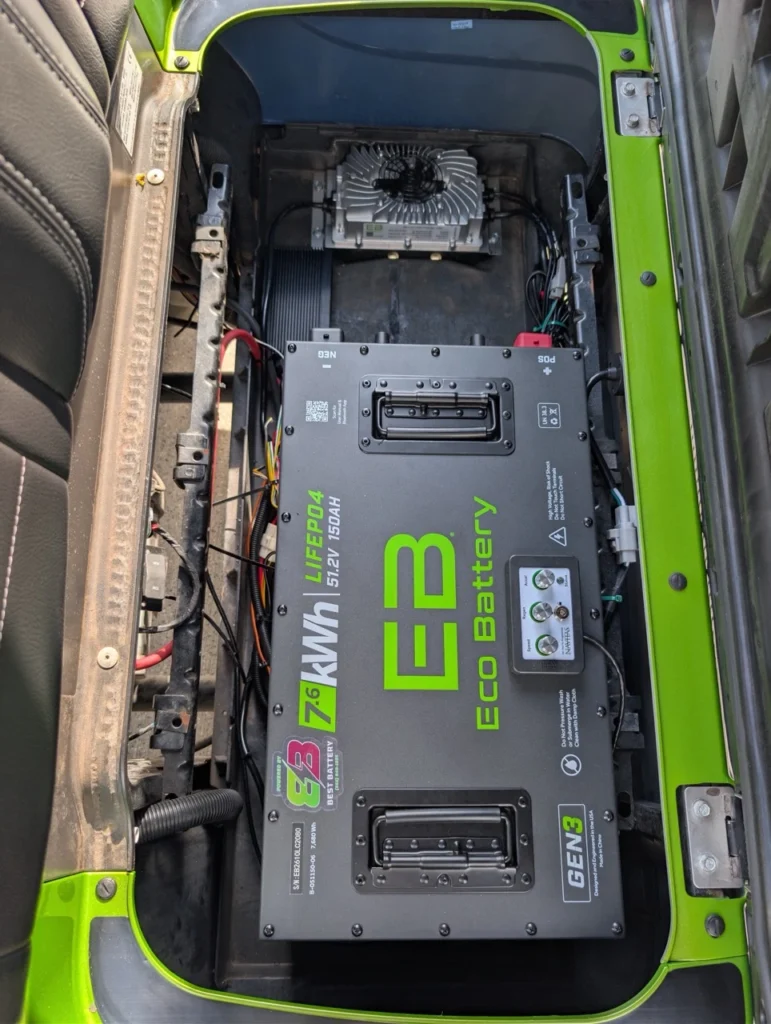
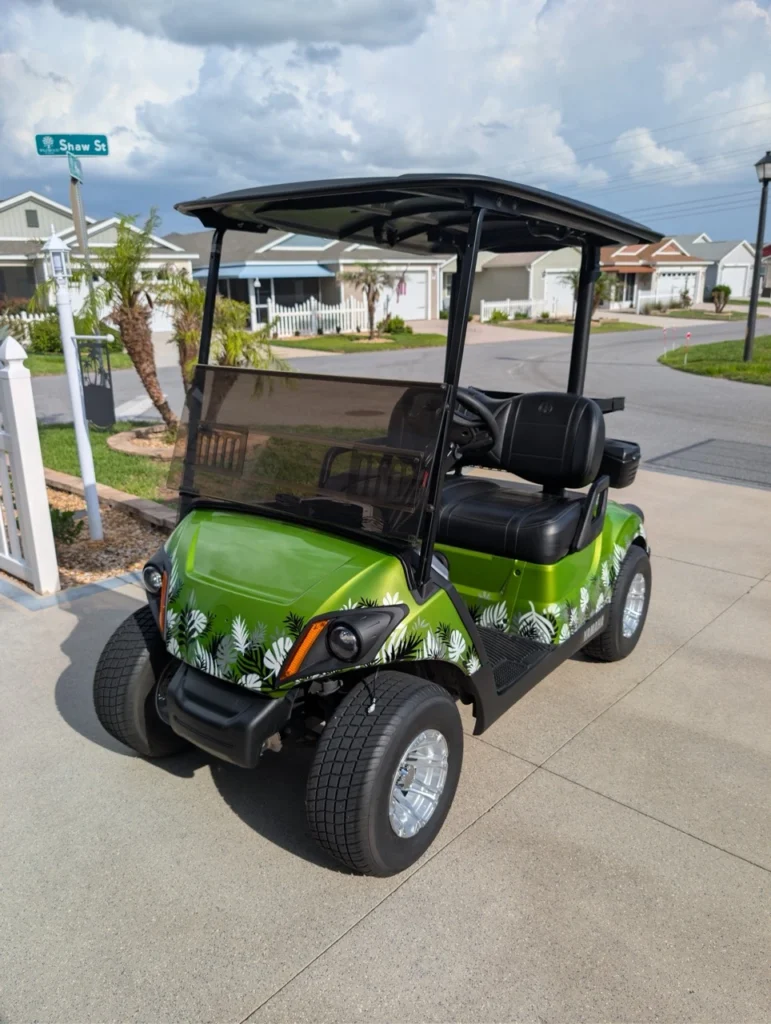
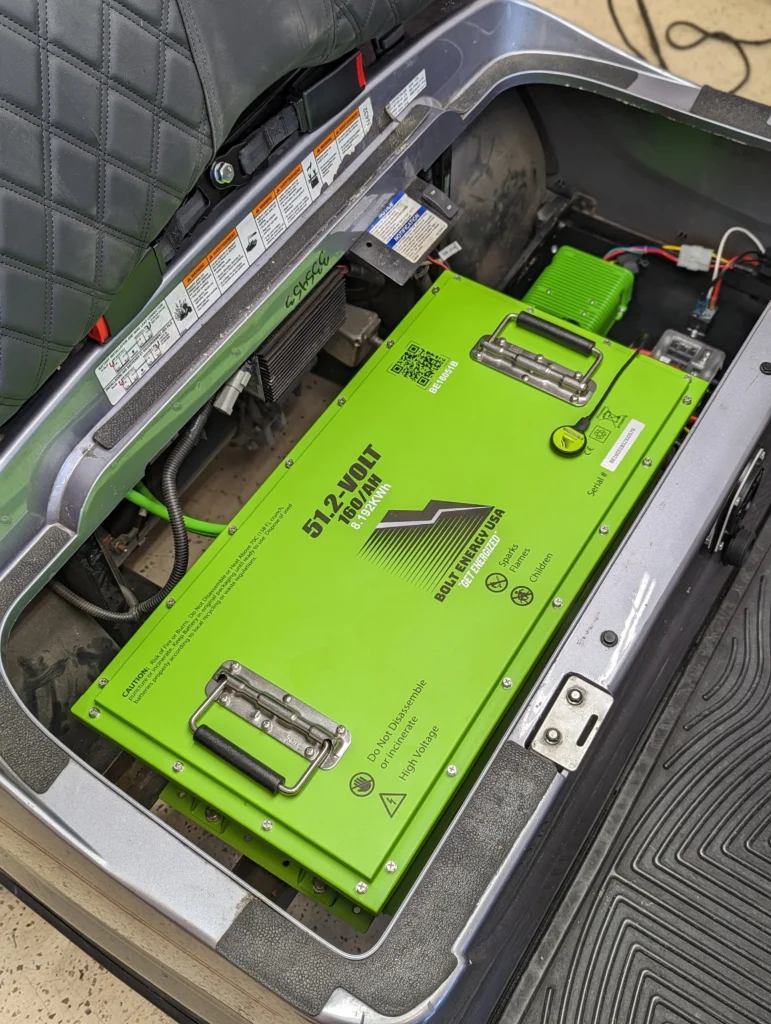
Bolt Energy utilizes a universal bracket mounting system for conversions like this Yamaha Drive battery upgrade to secure the battery. Set the 160Ah unit into your preferred centered position inside the Yamaha tray, attach the universal brackets to the battery base, and mark your drill hole spots directly onto the plastic floor.
Pro Tip (Placing Your Drill Holes): The plastic tray in Yamaha carts is thick and backed by support ribs underneath. Before drilling, check under the tray to ensure your marked spots clear any tight frame obstruction. Position the holes so you can easily reach the underside of the tray to thread and tighten the lock nuts onto your mounting bolts.
Once marked, drill out the clearance holes through the plastic floor. Drop your mounting bolts through the universal brackets and tray, then secure them firmly from underneath using wide fender washers and lock nuts.This bracket should fit perfectly in your Yamaha Drive battery upgrade.
Connect the heavy-gauge main positive and negative battery cables from your controller/solenoid directly to the Bolt Energy battery terminals. Torque all terminal bolts down to manufacturer specification (typically around 90–100 inch-pounds) to prevent loose connections or resistance heat. This is the final step of your Yamaha Drive battery upgrade.
Flip the cart’s switch back from TOW to RUN, then press the power button on the dash-mounted SOC gauge to turn on the system. The display will illuminate, showing live pack voltage and charge percentage. Test forward and reverse drive operation, then plug in the AC charger to verify the interlock lockout engages and the charge cycle begins as expected. If you’ve done everything correctly, your Yamaha Drive battery upgrade should be complete.
Eco Battery is an industry powerhouse known for creating ultra-complete, plug-and-play vehicle integration kits. For Yamaha Drive battery upgrades, they take it a step further than any other brand by offering full powertrain upgrades.
Most Popular Kit: 48V (51V) 160Ah Thru-Hole Single Pack
The Yamaha Special Advantage: Eco Battery designs their kits to integrate with their proprietary EB Power AC Conversion Kits (available in 350A, 450A, or high-performance 600A configurations). If you want to convert your slow, aging factory DC Yamaha into an ultra-fast, high-torque AC machine, an Eco Battery all-in-one bundle gives you a matching motor, controller, battery, and dash gauge seamlessly.
Best For: Cart owners looking for an all-inclusive factory-style conversion, advanced CAN-bus digital dash integration, and an incredible lifetime warranty.
No. A high-quality 48V lithium battery operates safely within the baseline voltage limits that your factory Yamaha motor and controller were designed to receive. Because lithium maintains a steady, clean voltage line without severe drops, it actually reduces excessive heat buildup and structural wear in your motor controller over time. A Yamaha Drive battery upgrade to lithium is perfectly dafe for your cart.
A battery upgrade alone does not rewrite the maximum speed limits programmed into your factory controller (which usually caps out at 15 to 19 mph depending on your fleet programming). However, because you are removing up to 250 lbs of dead weight, your acceleration will be significantly punchier, and the cart will maintain its maximum speed effortlessly when climbing steep hills, crossing community bridges, or hauling a full load of four adults.
No, you cannot. Legacy lead-acid chargers use charging algorithms engineered to slowly ramp down voltage over 8 to 12 hours while boiling the internal acid solution. Attempting to pass this style of charge to a lithium battery will cause the built-in Battery Management System (BMS) to lock down instantly to protect the cells, completely voiding your warranty. Every Yamaha Drive battery upgrade conversion kit we install comes complete with its own dedicated, high-speed smart charger designed specifically for LiFePO4 chemistry.
BEST Battery is your one-stop-shop for all things Golf Cart Battery and Lithium Battery applications.
From our shop in Wildwood, FL (just outside The Villages) we perform custom installations, can manage local pickups, and we ship battery kits across the country.
Looking to get your upgrade underway? We can help.
We use cookies to improve your experience on this website. You may choose which types of cookies to allow and change your preferences at any time. Disabling cookies may impact your experience on this website. You can learn more by viewing our Cookie Policy.
Swing on by and check out our booth (November 29th, 2025), we’ll be showing off the new Eco Batteries, LED lighting set-ups, Golf Cart accessories and more…
